Showing posts with label silhouette. Show all posts

Monday, February 24, 2014

Luck O' the Irish


There's a quick little story behind this project.  Someone asked in one of the forums I read if we took lots of pictures of our family members or loved ones on Valentine's Day or if we made any Valentine-themed projects.  I didn't, and that made me feel a little sad because I wanted to.  I meant to.  But time just slipped away and Valentine's Day was over before you know it.  So - I looked on my calendar to see what the next holiday would be, and I saw St. Patrick's Day.  

Believe it or not, I'm Irish.  Well, my great-grandparents were.  I've even been to Ireland where I kissed the Blarney Stone!  So I thought this would be the PERFECT holiday to prepare for.  I am getting a jump on it and have already started creating my holiday decor.  And I have pictures in mind and WILL be taking them on St. Patty's Day (no matter how much my kids moan and groan about it)!

I've got to tell you, I am LOVING my wall decor:


Here's why I love it so much (besides the fact that it is pretty darned cute!):

1.  I upcycled an old wooden planked piece of wall decor that was destined for the trash pile because it was tired, old, and broken; and

2.  I challenged myself to use fabric and paper on my project.  Each wood plank is covered in brown polka-dotted fabric that I sprayed adhesive to.  I also used burlap remnants that had been sitting around forever on my four-leaf clover; and

3.  I scrapped my stash.  I used papers from my outrageously large Fancy Pants stash.  The papers on my wall hanging are mainly from the Road Show Collection.  Yes, they are that old!  I loved that collection so much I just kept buying it.  It's finally time to use it up and make way for something newer.

To add even more texture to my four leaf clover, I glued a lot of buttons to one of the burlap sections:


The hat and jar/cup decoration were cut out using my Silhouette.  I used primarily the Fancy Pants Park Bench Collection for these.  They were quick little projects but cute nonetheless!  

This little hat could be used as a cupcake holder, a party hat, or the cover to a jar full of goodies.  Isn't it adorable?


That's it for me this fine Monday.  As they say in Ireland - Slainte!

Tuesday, January 21, 2014

Playing with Paper Bakery and Dreaming Big

I am up on the Paper Bakery BLOG today with my first layout and tutorial for them using January's Love Potion #9 SCRAPBOOK KIT.  Can you guess what my layout is about?  If you guessed it is about my recent CHA trip (where I got to meet Sarah, the wonderful owner of Paper Bakery) - you would be correct!  But, my layout is about a little more than that, too.  

I was at a crop with two of my friends this past weekend, and we were involved in part of a discussion about the insecurity that seems to go along with scrapbooking, cardmaking, and mixed media - especially when we strive to be on design teams for the manufacturers whose products inspire us.  We allow ourselves to take a hobby or past time that is supposed to make us feel good about ourselves and, instead, we let it become a source of self-doubt.  We wonder what it is that makes someone else's style better than ours and we wrestle with the temptation to copy another style, another idea - in short, somebody else's dream.  And if we take a step back we see - that is crazy.  That is sheer stressful craziness.  And I don't want that.  

So - this layout symbolizes that.  It's a pledge to myself - a pledge that I am going to keep trying to make the dreams I have come true.  But while I am doing that, I am going to keep three things in mind always:
  1. I will stay true to myself and I will keep my own style.  I may not know what my style is called (and anyone who does know, PLEASE tell me - I am pretty sure paper-hoarder is not a style!) but I know it is my own and I know it is consistent.  Even if I am the only person who likes what I do, the only thing that matters is that I like what I do!
  2. I will only apply to teams or challenges that inspire me.  That means I will not apply to a manufacturer's team if I don't normally buy their products - no matter the temptation, the thought that I might be passing up my one big chance.  That's not making my dream come true; that's becoming a slave to an idea.
  3. Most of all, I will enjoy what I do.  I fell in love with scrapbooking because it made me feel happy and creative.  I absolutely refuse to let it be a source of stress!!!
Okay, stepping down off my soapbox!  Back to Paper Bakery - I knew it was the right kit club for me because its collections were filled with items that I had already purchased on my own.  I tend to stick with one or two manufacturers' products when I am working on a project, so it is a refreshing change to have papers and supplies to work with from several different manufacturers at the same time.  And best of all, it's already all coordinated and put together for me!  Look how nicely everything comes together on this layout:


I never would have thought to include vintage-y My Mind's Eye Lost and Found bits and pieces with these papers, but it works!  That's what I like about kit clubs, and especially Paper Bakery - they combine things so that I use them in different ways than I may have on my own.


Oh, one last thing before I go - see that title?  That was created from my own handwriting and then cut out on the Silhouette!  Yep, that title is created from my messy lefty cursive writing.  Want to see how I did it?  Then check out my TUTORIAL on the Paper Bakery Blog!  (It's simple)  Oh, and leave a comment if you like it!

Happy Crafting!!!

Wednesday, January 8, 2014

Shaking Off Those Winter Blues


Even here in the southern part of Texas we have not been able to escape freezing "arctic" temperatures.  So, to warm things up a little, I put on a pot of hot coffee and decided to use one of my favorite pictures taken this past summer in a layout.  PRETTY LITTLE STUDIO has the perfect papers to create a summery layout, too, with its dreamy NEAPOLITAN COLLECTION.  My inner girly-girl will always love hearts and butterflies and flowers, which is what this collection has in abundance!  

And this - this was the end result:


I've got to tell you that I am quite proud of it - proud of the subjects, proud of the moment that I captured with my camera, and pretty darned proud of my layout.  It's got a lot of white in it but doesn't look too empty at all.  (I love my tone-on-tone white sunburst that I started off with!)  It's got a lot of layers, but it's not too crowded.  It's got a lot of little pieces, but it's not too busy.  In fact, I would say it is j-u-s-t right!!!

Here are a few close-ups:

See?  Hearts, butterflies, and flair - all the things I love.  *sigh*


Yes, I did use journaling cards on my layout that don't have one single word of journaling on them.  They were used - gasp - purely for decorative purposes.  Don't judge.

Want to find out more?  Just check out the Pretty Little Studio BLOG!  

What are you doing to stay warm this winter???  Do you love the snow and cold temps or are you, too, dreaming of summertime and balmy weather?

Wednesday, August 7, 2013

Nature Walk Pocket Mini

 
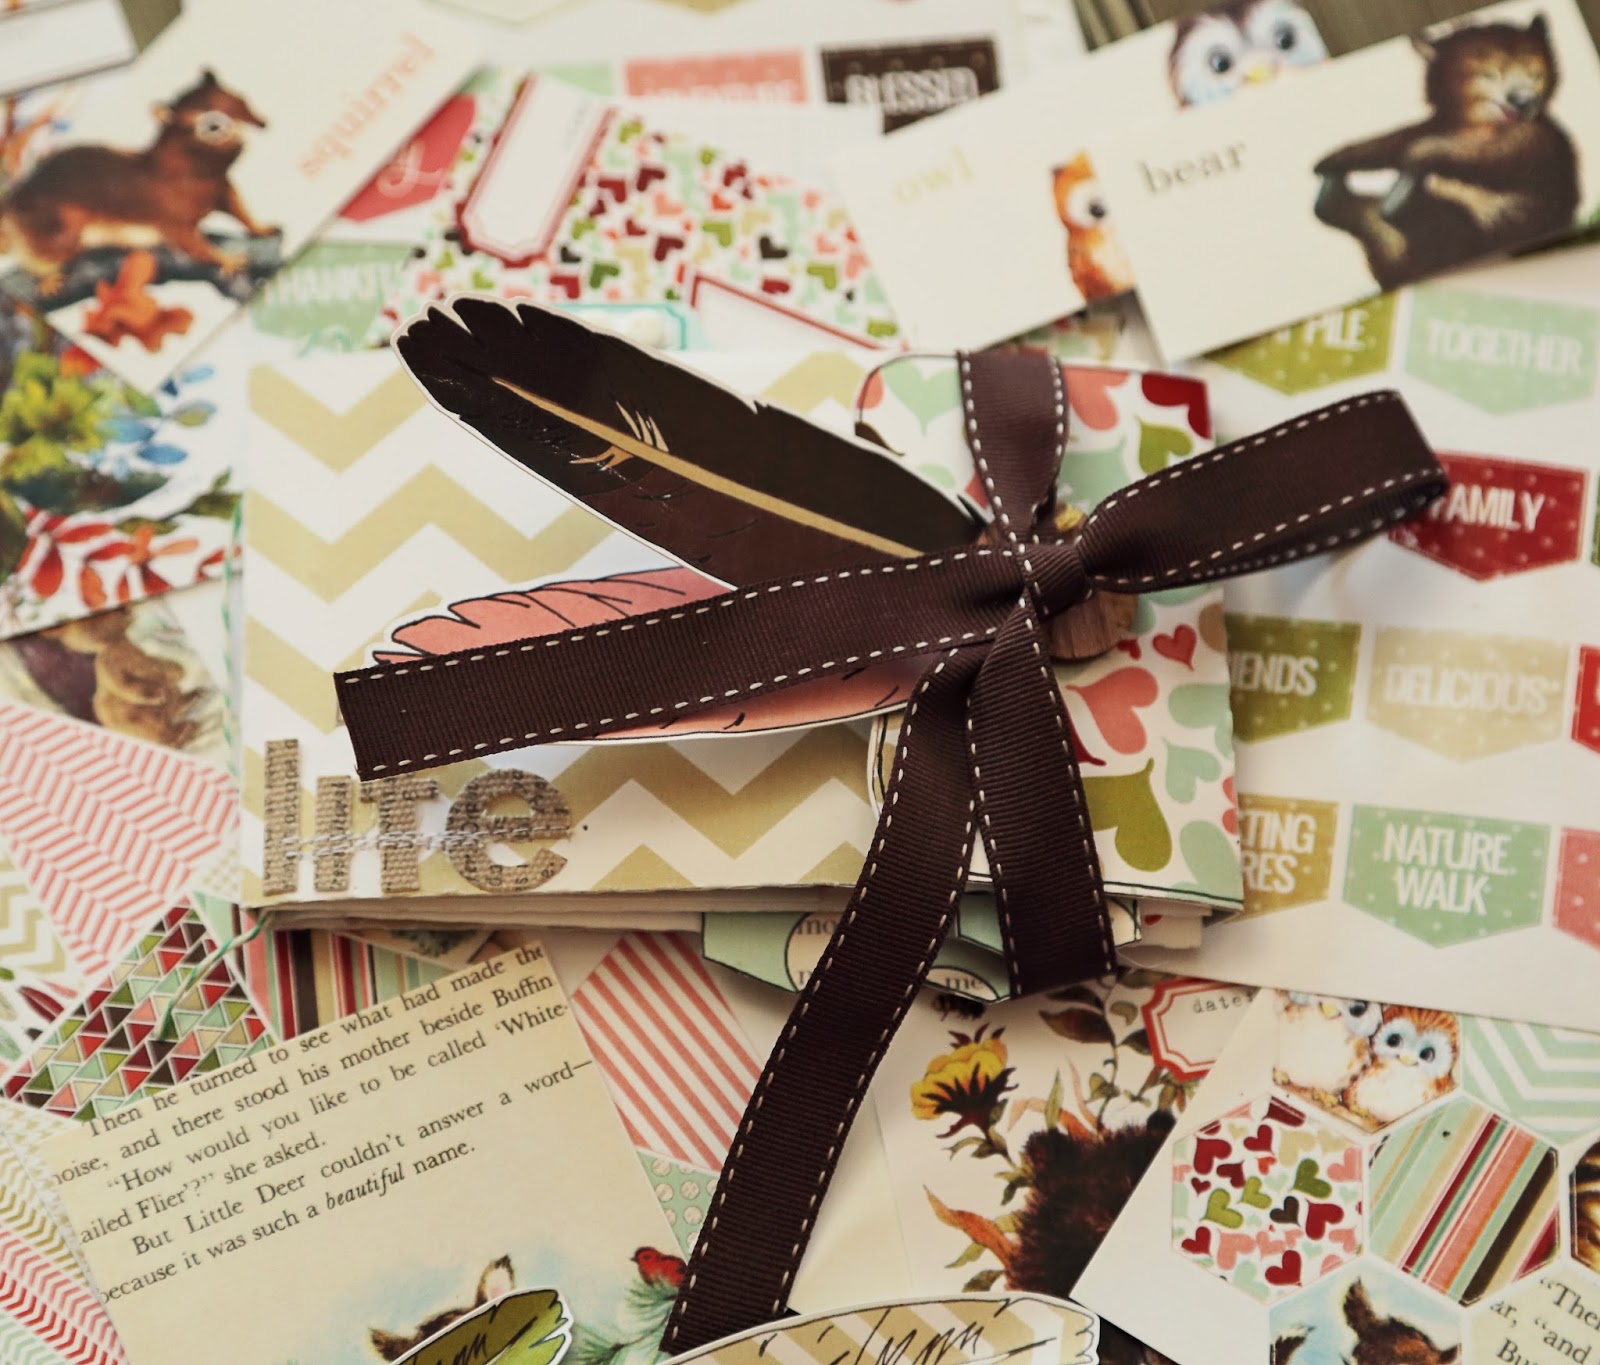
I made this sweet little pocket mini album using my Silhouette Cameo and a Silhouette cutting file by Lori Whitlock found HERE.  My inspiration?  It was the PRETTY LITTLE STUDIO Nature Walk Collection.  This collection's mix of papers in my favorite patterns and some of the cutest die-cuts and journaling tags I have ever seen had me chomping at the bit to create something that would really showcase them.  And I think this mini fits that bill perfectly.  It's tiny but it makes a B-I-G statement!


See that sweet little "love" tag? It's part of a sheet of stickers that really got the creative part of my brain jump-started.  In my whole conversion of the walk-in closet into my personal scrappy mecca, I came across a box containing quite a few random extra photos I had saved that tied in perfectly with what I call the Nature Walk "word association" stickers.  With my Silhouette doing all the hard work in the actual making of the mini album, all that was left for me was to get out my scissors and glue and start playing! 


I adhered these stickers that extend down from the mini to a sheet of my patterned paper and cut them out.  And since I did NOT have enough forethought to sew the tag onto my mini before I assembled the pocket, I simply sewed across the top of the sticker and glued it to my album page.  It looks like it is sewn to the page, and that is all that matters!

What does the number 10 stand for, you ask?  That is the number our his, mine, ours family has expanded to (not counting the newest generation that has come along).  Luckily, all but two of our birdies have feathered their own little nests and  are self-sufficient - except occasionally when they hear something is being cooked on the grill or in the oven...
 
Here is the tag that features our crazy family of 10:


But I'm jumping ahead...
 
I love this picture of Hunter from last year's vacation, and I love it even more against a simple white background with my PLS bunting flags accenting the page.  And, yep, there's another word sticker - sewn to the picture and then stapled for good measure! 
 
The journaling tags in the Nature Walk Collection fit perfectly in the pockets of my mini.  Because I was feeling extra creative, I decided to try my hand at making a few journaling tags and embellishing the pre-made ones, too.

 
And, whoo says the back of the tag can't be cute? LOL - see what I did there? Who-whoo.  Yes, I crack myself up.
 
 
My Pretty Little Studio papers cut so well in my Cameo. And, look, there are some more word tags - and the sweetest little deer diecut ever! 


And speaking of die cuts, I had to find some excuse to use this one on a page...

 
How does a rabbit fit in with football?  Well, ummm, see....when you play football, you have to run incredibly fast with the ball to score a touchdown.  Annnndddd - wait for it - rabbits also run fast.  There you have it - a connection that's as obvious as the nose on your face. Duh!
 
And now that I have cleared the rabbit/football connection up for you, I am out of here for the day!  If you want to see my mini featured at its "official" home - please check out the PRETTY LITTLE STUDIO BLOG!  And leave a comment letting me know what you think.  I would love to hear from you!
 
Until next time, happy scrapping!!!

Monday, June 24, 2013

Getting Fussy with my Scissors (Practical Scrappers)

 
Today at PRACTICAL SCRAPPERS, our On Trend team is showing everyone how we get fussy.  No, we aren't having a rant over there, we are showing off our layouts and cards in which we used a technique called "fussy cutting."  What exactly IS fussy cutting?  I think the best, easiest way to describe it is how diecuts are made without a diecutting machine - like a Silhouette Cameo.  You see an image or shape you like on a piece of paper and you cut it out to add to your layout or project.  It's that simple!

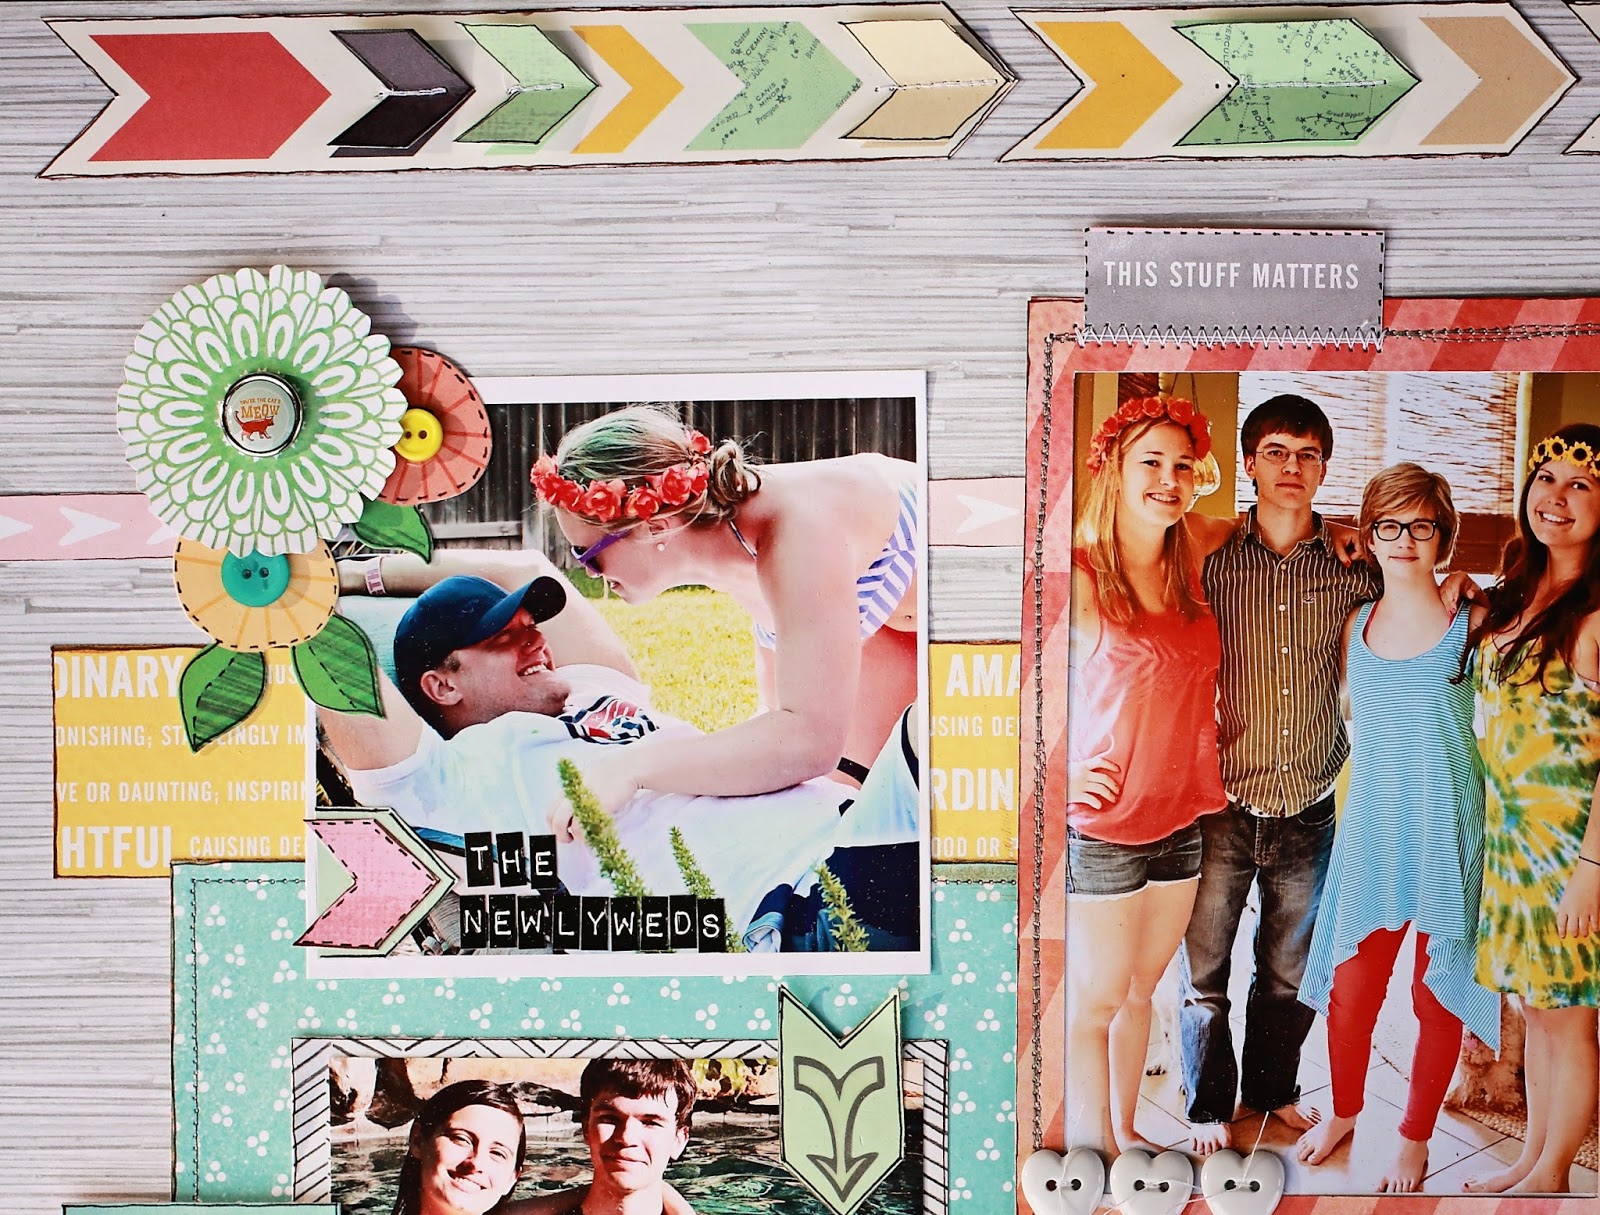
Often, when crafters think about fussy cutting, we think of projects using what I call "image rich" papers (yes, I just now coined that term - feel free to quote me!) - Graphic 45 and Websters are two of the big names who design these types of papers.  But fussy cutting isn't only limited to cutting out elaborate, detailed images; it can be as simple as cutting out chevrons from a patterned paper you like to make and accent your embellishments, like I did in this layout using a combination of AMERICAN CRAFTS papers from the Yes, Please and Lucky Charm collections.  I took this paper:


...and I cut right outside the outline of several chevrons to create my arrows.  I then cut out individual chevrons and layered them on top of matching ones on my arrows by machine stitching them along the center line so that I ended up with this:


And, as you can see, because I loved my chevron arrows so much, I also used them as accents to draw attention to several of the individual photos - quick and easy embellishments that only required scissors and paper!

Of course, I did use my Silhouette, too, to make this adorable bicycle (which I embellished with buttons, a fabric heart sticker, and my bicycle flag made from twine and a hand made pennant).


...and to make this frame.  It was originally a polaroid frame that I elongated to fit my 4x6 photo.  I adhered different scraps of my AC papers behind each of my letters to make it extra-colorful.


Before I go, I wanted to leave a few tips for fussy cutting:

1.  Sharp scissors are an absolute MUST.  If your scissors aren't sharp, you will often end up with a frayed edge that looks a little "chewed up" by your scissors.  Fraying and distressing are good but NOT when you are fussy cutting!
 
2.  Maybe it's because I have small hands, but smaller scissors generally work better for fussy cutting.  They allow you to maneuver your scissors more easily when cutting out a shape, especially more intricate shapes.
 
3.  To keep your fingers from cramping and feeling like you will never be able to fully straighten them out again (especially if you are cutting out an intricate shape or lots of shapes), I highly recommend getting spring-loaded scissors, such as these, which can be found in most craft and sewing stores. 
 
 
That's it for me today.  But you know I'll be back - I've got some Pretty Little Studio and a blog hop in the works, so stay tuned!

Monday, March 18, 2013

Don't You Love My Silhouette (Practical Scrappers)

Happy Monday, everyone!  To get my week started right, I stayed up until the late, late, late hours of the night working on this project for PRACTICAL SCRAPPERS where the On Trend Team and a few other PS members (like me) got together and showed what fun things can be done with a Silhouette Cameo. 

My ideas were pretty simple - but the good thing about using my Cameo is that just about EVERY project is simple!  I had it cut two rows of arrows in my AMERICAN CRAFTS background paper. Then I placed fussy cut arrows next to each row that I machine stitched to my paper.

 
The next thing I used my Silhouette Cameo for was my bouquet of flowers.  Van Gogh may have created the Starry Night, but I believe I have now created the Starry Bouquet!  The star file I used had a slightly warped shape, which I then accentuated by stretching the stars out - making them look more flower like.  I pop-dotted them for more dimension and drew the stems connecting each flower to my vase.  The vase was fussy cut, also pop-dotted for more dimension, but then the edges were glued down.  I outlined each star flower in white and placed a little shiny metallic star in each center.
 
 
That's it for me today (yawn) - now I think it's time for a nap!  Of course, I am at work so that may have to wait...

Wednesday, February 13, 2013

Live Inspired - A Practical Scrappers Sketch Reveal


Today over at PRACTICAL SCRAPPERS, we have the February sketch reveal and it is another fantastic one by our Practical Scrapper, Liz Chidester!  I love her sketch, but I decided it worked better with my papers and picture if I flipped the sketch upside down and mirrored it.  Whatever direction her sketch is turned, it is fantastic!

I used a picture that I love of "my boys" taken in December along with some artsy, wonderful STUDIO CALICO papers from a couple of different collections.  I love their bold, graphic style and thought it really suited this photo of these guys doing their "inspirational album cover pose" - especially since the clouds on the background paper seemed like an extension of the sky in my photo.
 
The top right corner of the paper had several blue lines that, to me, looked like the rays of the sun (yes, even though they were blue).  So, I layered and extended those with leftover strips of paper that I machine stitched in contrasting orange.  I printed out this great Silhouette quote four times in teeny-tiny letters and further accented each "ray of sun" with bright shiny gold stars, also from Studio Calico.


I added a couple of punched clouds that I randomly machine stitched across to help connect the clouds on the background paper to my picture. 

My journaling extended across the bottom half of my page, from here:


to here:
 
Liz's sketch certainly inspired me this week!  Why don't you print it out and give it a try?  And if you do, feel free to leave me a comment with a link to YOUR layout (and link it on Practical Scrappers, too!) - I would love to admire what you have created!
 
Until this time tomorrow (when I show you a Valentine's layout in non-Valentine colors), happy scrapping!

Monday, February 11, 2013

Happy Girls Layout - Using Crate Paper

Happy Monday morning everyone!  With Valentine's Day right around the corner, I have really been focused on the people and things I love - and scrapbooking all about them, of course!  And some of my favorite papers to use have been from CRATE PAPER'S 14 COLLECTION, which is defintely on my TOP 5 Paper Collections List right now.  The papers are saturated with color and a little bit vintage-y and absolutely perfect for layouts such as this one featuring my sweet, lovely daughters! 
 
As my starting point, I used this fantastic sketch from CREATIVE SCRAPPERS.  Seriously, Kristine's crew comes up with so many awesome sketches, I don't know when I will have time to get to them all!
 
Let me tell you a little bit about this layout - because I had so much fun making it!
 
First, this banner was fussy cut directly from a page of - you guessed it - banners!  I just cut a few out and zig zag stitched around my pieces, then sewed them across the top directly onto my layout.  I initially had a second, different banner making a larger swoop below this one but decided it made my layout too busy - after I had already glued it down to my papers, of course!  So, I ripped the second banner off, sewed these little hearts on top of a few of the ripped areas, and decided that the other visible tears in my papers were extra distressing that I MEANT to have on my layout - hahahahaha!  Besides, they compliment my white paint spatters that really were put there on purpose.  (Yes, I am the Queen of Rationalization - that's how I am able to continue buying new scrapbook papers when I will never use up all the ones I already have.)  I left the threads at the end of my hearts long and uncut because I liked the way they looked.
 

I used one of the polaroid frames from a newer MAGGIE HOLMES' Collection (I LOVE her work!)  Obviously, my picture is not square-shaped and not meant to fit in a polaroid frame.  But I wanted to use it so I just angled it across the top as an accent.  The number blocks were originally part of a border strip on one of the 14 Collection papers that I simply cut up, outlined, and pop-dotted on my frame. 
 

Here is another view of the center of my layout and one of the reasons why I chose the Creative Scrappers sketch that I used - LAYERS!!!!!!  I love the layers!  And look how scrumptious these papers look together - almost good enough to eat!  Okay, not really, but these papers ARE perfect for layering...and for sewing on!
 
 
My title, "Happy Girls are the Prettiest Girls" is part of a fabulous quote by Audrey Hepburn.  It's overused now, but I still love it anyway!  And, like my papers, it was perfect for this layout.  I used my Silhouette Cameo to cut out those small letters.  I also cut out a few of the negative outlines left over and used those in place of the letters.


And speaking of my Silhouette, I love using it and my small scraps of leftover paper to make little extra things like this tab that I added to my layout. "Waste not, want not," as my Grandmama used to say.  And what a super cute way to make sure my paper isn't wasted!


Last, but not least, is the bottom of my layout.  I didn't have quite enough of the green and white striped paper I wanted to use and I didn't like my picture just hanging off the bottom of my layered papers, so I took some of the thin cut-out strips and placed those under my picture to give the "suggestion" of a continued background paper. 


That's it for me today.  Hope you are staying dry and warm whereever you are!

Wednesday, January 9, 2013

Here and Now - Practical Scrappers Frugal Finds

After dithering around and tearing up and re-starting this layout in a fit of pique a couple of times, that had NOTHING to do with my Practical Scrappers assignment - all operator error I'm afraid - here it is, my contribution to the PRACTICAL SCRAPPERS Frugal Finds Challenge.
 
What is it, you ask? Well...it's a common household item. It is...toothpicks! That's right, the things you use to test cakes or to get something unstuck from between your teeth (if you don't have floss or a toothbrush handy). I tried to do something a tad bit (and it seems that a tad bit is all I came up with) more creative than a little flag, so I made - an arrow.  I wanted to accent my arrow and add a little dimension to it, so I used a toothpick as the base - can you see it here?
 

It may not be the most ingenious idea, but you gotta give me points for cuteness!  My arrows (on top of my little toothpick) were cut out using my Silhouette Cameo *doing my stuck record impression - I love my Cameo, I love my Cameo, I love my Cameo* along with this really cute polaroid frame that I simply stretched out a little before printing so it would fit the dimensions of my picture, which is NOT a polaroid size.
Of course, I outlined and doodled on just about everything with my black zig marker - my favorite thing to do these days it seems.  My papers are by AMERICAN CRAFTS , which work perfectly for this unguarded photo of my daughter, who was so caught up in her music that she was oblivious to everything around her (even her crazy picture-taking mom who snuck up on her with the camera)!

Seriously, my toothpick arrow may be cute - but you have GOT to check out the other PRACTICAL SCRAPPERS ladies' ideas. They will blow you away! So go! Click the link already! What are you waiting for?!