Showing posts with label arrows. Show all posts

Sunday, June 30, 2013

Banners and Arrows and Sketches, Oh My!

Today at PRACTICAL SCRAPPERS, we are playing with banners and flags - which is one of my mostest favoritest never-want-them-to-go-out-of-style trends!  I'm not kidding - just this morning there was a poll on Facebook asking what trend we never wanted to go out of style.  And my answer was, of course, banners!
 
I have had the Lula Bug with me all weekend, and the pool was calling our names, so my free time to scrap was pretty much set to zero.  But, you have to live life to be able to document it.  So that is what we were doing - living life! (and maybe getting a lil' bit sunburned in the process)
 
Anyway, what that means is that when I found a way to combine a fun June sketch challenge over at MY MINDS EYE with Monday's Practical Scrappers assignment to create a layout with banners and flags, I jumped at the chance.  In case you didn't see it, the sketch can be found HERE.  And you see my take on it above - a lot "fuller" than sketch, but that's what I love about scrapbooking.  Everything is open to interpretation!
 
I had so much fun creating all the details on this layout.  Want to see a close-up or two?  Why, of course you do!!!  Here you go:
This is my banner that I made with my Silhouette Cameo.  I love the fact that the banner file already included the word "today" as a cutout.  So that the word could be seen clearly, I layered a solid pink eyelet trim behind each cutout. I also machine stitched just about every sheet of paper on this layout, and I added pop dots in several places to further accentuate my layers. 
 
Here is an even closer close-up:
 I absolutely love all the rich detail of MME's Find Your Wings and Fly Collection!!!  And MME always has just the right ratio of shabby chic and trendy.
 
Part of the MME sketch challenge was to use arrows, so I made sure I included several of those in my layout, too.
 
That's it for me today.  Be sure to come back tomorrow to see a new reveal and to find out who has won prizes from this past weekend's blog hop!!!

Monday, June 24, 2013

Getting Fussy with my Scissors (Practical Scrappers)

 
Today at PRACTICAL SCRAPPERS, our On Trend team is showing everyone how we get fussy.  No, we aren't having a rant over there, we are showing off our layouts and cards in which we used a technique called "fussy cutting."  What exactly IS fussy cutting?  I think the best, easiest way to describe it is how diecuts are made without a diecutting machine - like a Silhouette Cameo.  You see an image or shape you like on a piece of paper and you cut it out to add to your layout or project.  It's that simple!

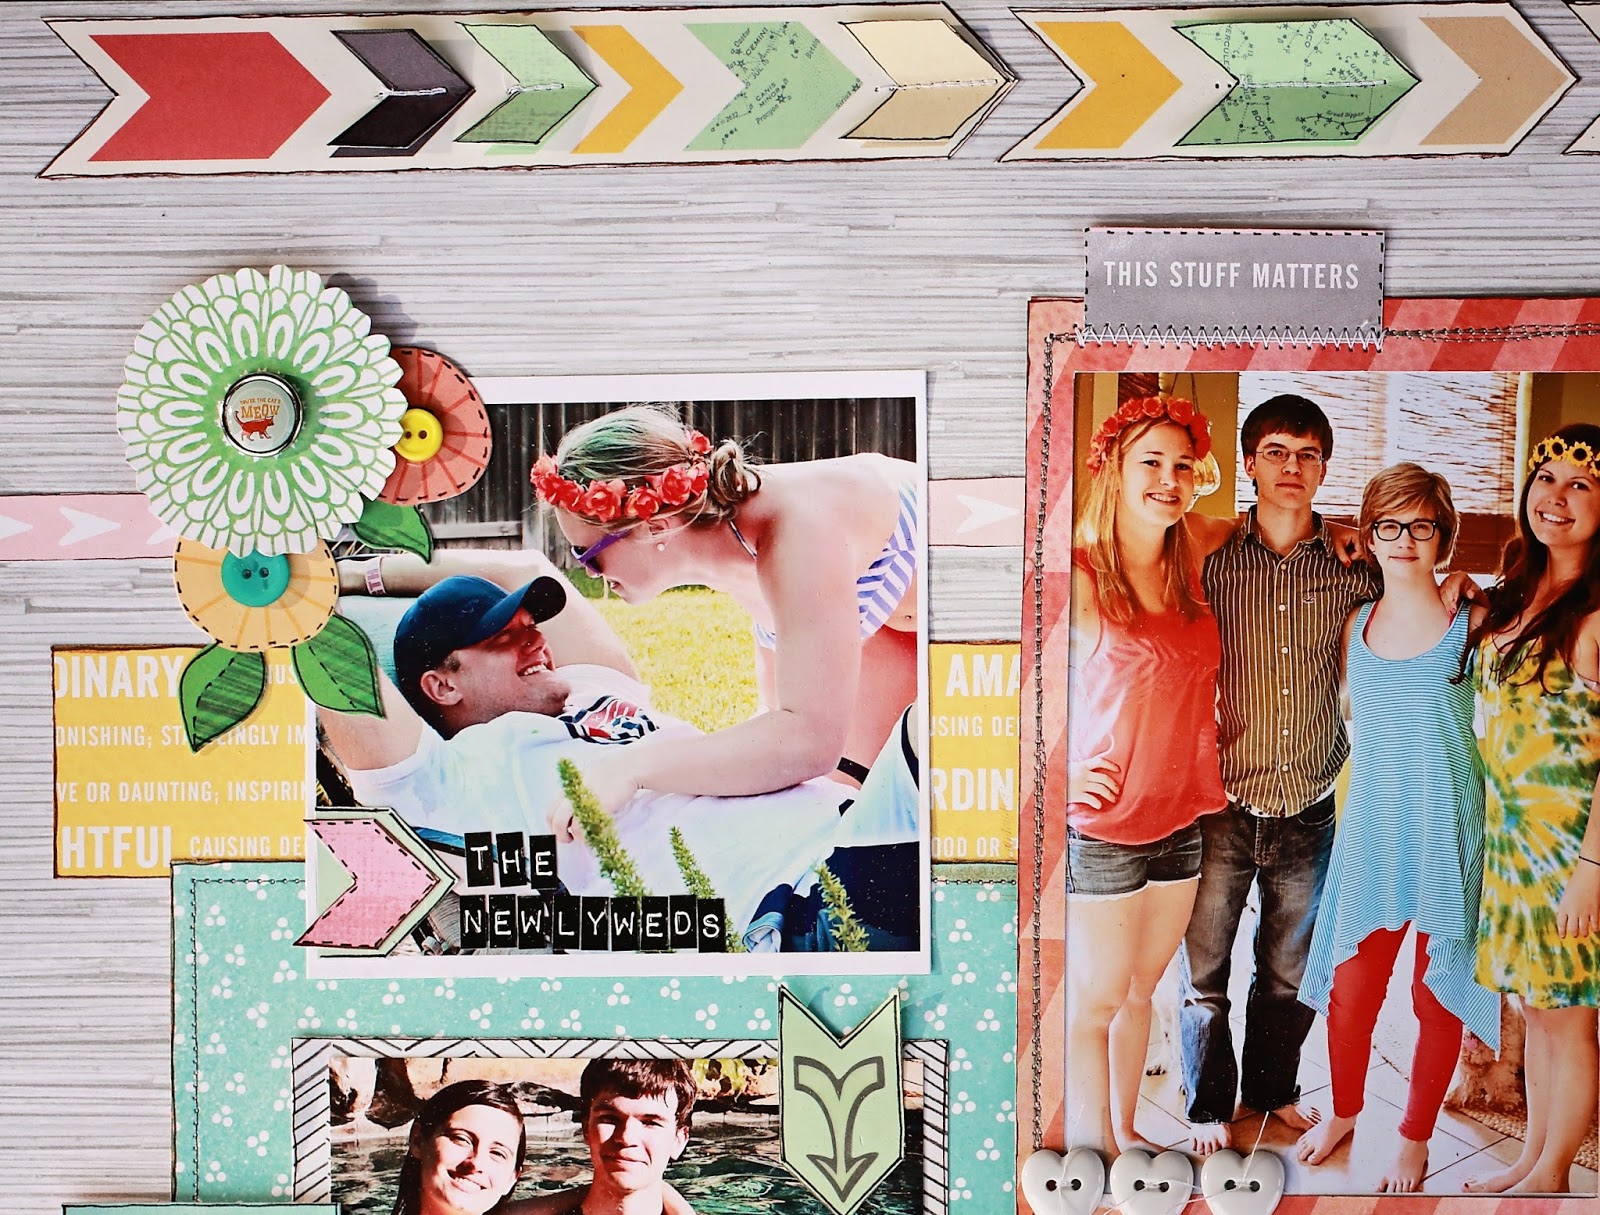
Often, when crafters think about fussy cutting, we think of projects using what I call "image rich" papers (yes, I just now coined that term - feel free to quote me!) - Graphic 45 and Websters are two of the big names who design these types of papers.  But fussy cutting isn't only limited to cutting out elaborate, detailed images; it can be as simple as cutting out chevrons from a patterned paper you like to make and accent your embellishments, like I did in this layout using a combination of AMERICAN CRAFTS papers from the Yes, Please and Lucky Charm collections.  I took this paper:


...and I cut right outside the outline of several chevrons to create my arrows.  I then cut out individual chevrons and layered them on top of matching ones on my arrows by machine stitching them along the center line so that I ended up with this:


And, as you can see, because I loved my chevron arrows so much, I also used them as accents to draw attention to several of the individual photos - quick and easy embellishments that only required scissors and paper!

Of course, I did use my Silhouette, too, to make this adorable bicycle (which I embellished with buttons, a fabric heart sticker, and my bicycle flag made from twine and a hand made pennant).


...and to make this frame.  It was originally a polaroid frame that I elongated to fit my 4x6 photo.  I adhered different scraps of my AC papers behind each of my letters to make it extra-colorful.


Before I go, I wanted to leave a few tips for fussy cutting:

1.  Sharp scissors are an absolute MUST.  If your scissors aren't sharp, you will often end up with a frayed edge that looks a little "chewed up" by your scissors.  Fraying and distressing are good but NOT when you are fussy cutting!
 
2.  Maybe it's because I have small hands, but smaller scissors generally work better for fussy cutting.  They allow you to maneuver your scissors more easily when cutting out a shape, especially more intricate shapes.
 
3.  To keep your fingers from cramping and feeling like you will never be able to fully straighten them out again (especially if you are cutting out an intricate shape or lots of shapes), I highly recommend getting spring-loaded scissors, such as these, which can be found in most craft and sewing stores. 
 
 
That's it for me today.  But you know I'll be back - I've got some Pretty Little Studio and a blog hop in the works, so stay tuned!

Wednesday, March 27, 2013

Happy Hearts (Practical Scrappers)

 
Who's happy today?  I am!  Why?  Because PRACTICAL SCRAPPERS has a new sketch reveal by Liz Chidester that is featured on today's blog!  And if that isn't enough to get you motivated, I think all the wonderful layouts we girls created are sure to inspire you!  (If I do say so myself)
 
I LOVED this month's sketch, even though I didn't follow it exactly - and that's okay because it means that I can play with it again!  Here is my layout, featuring my baby boy and his favorite gal (besides his mama):


I used wonderful papers by AMERICAN CRAFTS - I am loving evey single one of their new collections that have been released recently.  I cut out my background shaped heart paper using my Silhouette and then sewed and glued the leftover hearts on my stitched circle. 
 
 
I also L-O-V-E-D these vellum hearts that I found at Archiver's a few weeks ago.  More heart shapes from my background "heart paper" were glued on the little arrow at the bottom of this picture.
 
Thanks for stopping by!  That's it for me today, but be sure to head over to PRACTICAL SCRAPPERS and leave a little love!  And, of course, you can ALWAYS leave a little love for me here, too!

Monday, March 18, 2013

Don't You Love My Silhouette (Practical Scrappers)

Happy Monday, everyone!  To get my week started right, I stayed up until the late, late, late hours of the night working on this project for PRACTICAL SCRAPPERS where the On Trend Team and a few other PS members (like me) got together and showed what fun things can be done with a Silhouette Cameo. 

My ideas were pretty simple - but the good thing about using my Cameo is that just about EVERY project is simple!  I had it cut two rows of arrows in my AMERICAN CRAFTS background paper. Then I placed fussy cut arrows next to each row that I machine stitched to my paper.

 
The next thing I used my Silhouette Cameo for was my bouquet of flowers.  Van Gogh may have created the Starry Night, but I believe I have now created the Starry Bouquet!  The star file I used had a slightly warped shape, which I then accentuated by stretching the stars out - making them look more flower like.  I pop-dotted them for more dimension and drew the stems connecting each flower to my vase.  The vase was fussy cut, also pop-dotted for more dimension, but then the edges were glued down.  I outlined each star flower in white and placed a little shiny metallic star in each center.
 
 
That's it for me today (yawn) - now I think it's time for a nap!  Of course, I am at work so that may have to wait...