Showing posts with label mini-album. Show all posts

Monday, November 25, 2013

Thankful Thanksgiving Album


We have a Thanksgiving tradition at my house that I love.  Every year, right before we start stuffing our faces, everyone around the table tells one thing he or she is thankful for.  But - then the carnage begins which leads to the mandatory coma-like napping.  By the time I wake up, I can't remember what anyone said!  I like to think I'm a problem solver so this year, I decided to make a Thankful Album using my PRETTY LITTLE STUDIO NATURE WALK COLLECTION.  This year, everyone can write down what they are most thankful for.

The base of my album is constructed from my Pretty Little Studio packaging.  I used an old clear plastic container-package-part as a sort of window for my little raccoon.  And the sequins?  They are there because my 4 year old Lula Bug likes sequins.  And she likes to look through my mini-albums with me.  And if they make her happy, then they are pretty much the perfect design element as far as I am concerned!

So, how does my Thankful album work?  Well, each page has a pocket.  And each pocket has a tag:


The photo visually identifies who the tag belongs to.  My son Will will write what he is thankful for on the tag tucked into this pocket.  (Note:  I had this photo sitting on my work desk and used it for Will's page.  I didn't realize until later that his was the only small picture used.  Oops...)

The rest of my album follows this format:


A photo of the family member is on one side and a page with a pocket containing a journaling tag is on the back.  Sometimes, as is the case with this page, I have a second central pocket created by sewing the sides and bottom of my picture to the packaging.  Why?  Well, you never know when you might need an extra tag to write on...

Here's my next page (front and back):


I am especially pleased with my little pocket on this page.  First, that deer is too cute!  Second, the frame for my wax paper pocket is the leftover edge from a design previously cut out with my Silhouette.  Yep, I am crafty and innovative like that. *smile*

I love the Hubster's page, too:


Each of my pockets are slightly different.  I wanted to use as many scraps as possible which meant changing the pocket style to fit the piece of scrap paper.

Child number one has a slightly smaller photo, but I still managed to fit two pockets and tags on it.  One tag is for her to write down what she is thankful for and one is for her guy.  Yes, I know my date is upside down on my journaling card.  You may choose to call that a mistake; I'll just call it whimsical!


Daughter number two also has two tags - again one for the daughter and one for her guy.


My album is bound by simple rings.  That way when I find out at the last minute that additional people will be showing up (it happens every year), I can quickly add more pages and tags!

The back has a few extra "bonus" tags.


I don't know what I'm going to write on these tags yet, but I am sure they will get used.  Maybe I will journal about my day; maybe I will simply record the menu.  Whatever I decide to include, I have plenty of room!

That's it for me this happy Monday.  Do you plan to incorporate crafting into any of your Thanksgiving traditions?  If so, leave a comment.  I would love to hear about it!

Friday, March 22, 2013

Junque Mini Album (Pretty Little Studio)

 
It's Friday!  Let's all give a great big Texas "Yeeeeeeeeeeeehaaaaaaaaw!"  And to celebrate, I want to show you this super fun Junque (that's junk spelled the fancy way, don't you know) Mini-Album that I created for PRETTY LITTLE STUDIO!

First, can you guess what my pages were made from?  Each and every one of them, except for a couple of the journaling tag inserts, was created from my packaging that my Pretty Little Studio supplies came in.  That's right, I even used the cellophane wrappers - nothing went to waste - my Grandmama would be so proud of me!

Now, for details and instructions on how I made this mini-album, check me out on the PRETTY LITTLE STUDIO BLOG.  And, hey, leave some love over there while you're at it please - pretty please?  Pretty please with a cherry on top???

Okay, enough talking from me - I am just going to sing along with Rebecca Black in my head and show you my junque pages.  When I tell you I had fun making this album, I am not exxagerating.  Wait, exaggerating???  Hmmm...e-x-   uhhhh...Anyway, I had F-U-N - so much, that I just kept making one page after another!  Here they are:

Yep, that's my goofy face giving the big cheesy grin.  I was going to a crop with some friends, though, so can you blame me?  See my tag that seems to be just attaching itself to the insert next to it?  It's actually in a pocket made from my cellophane wrapper - kinda cool, huh?

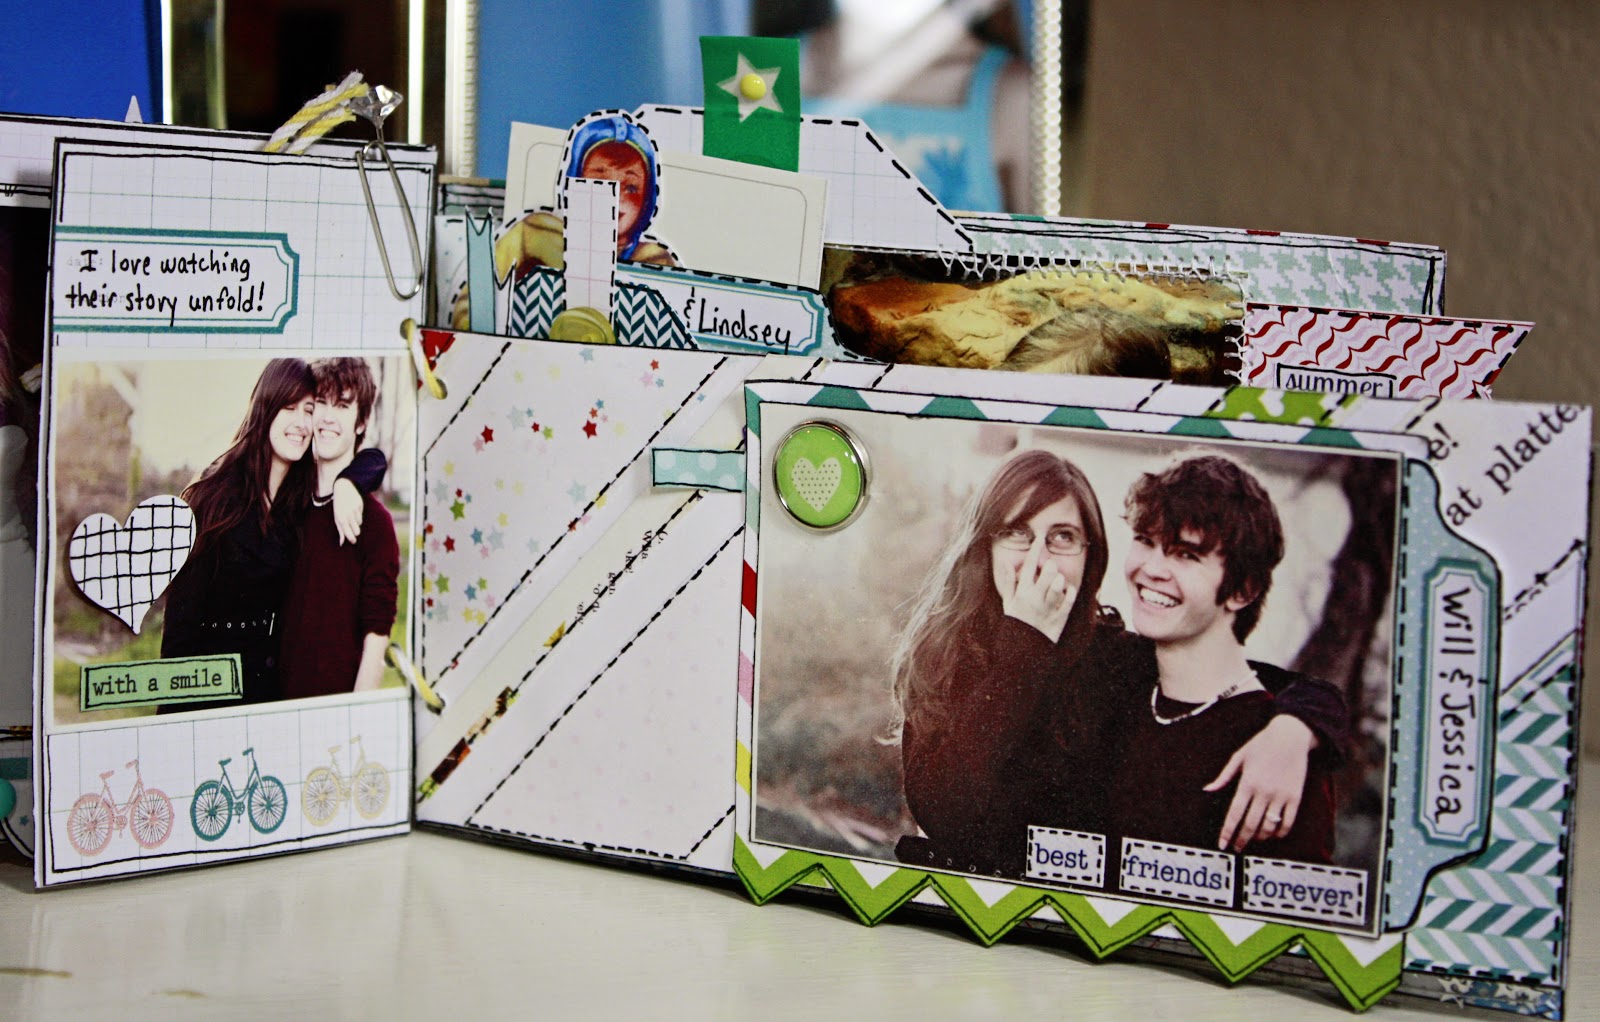
Page Two is my son and his girlfriend - cutest young couple ever.  Seriously.

Page Three - that's my Hunterific girl.  She's so shy and reserved - not!  I don't know about you, but I LOVE that PLS paper with the bright yellow hearts.  It makes my heart happy just looking at it!

Page Four - Look!  Is it a snow globe or a mini-album page?!?!?!  I had SO.MUCH.FUN. making this page! (When you say so much fun in capital, bolded letters with periods in between each word, you know it's a lot of fun!)

Page Five - I loved digging out my stickles and cutting off a few pom poms from my ribbon and trim stash to decorate this page!


Page Six - nope, not done yet!  Told you I had a lot of fun making this album...

Page Seven - I love all these vintage tags that PLS makes!

Page Eight - I used a little piece of wax paper in front of my paper for this insert - I just liked the extra layer it added...

Page Nine - A super double feature about the man who stole my heart! I glued the football player to my word card (both made by PRETTY LITTLE STUDIO, of course) and traced around it with my marker to make it look like a vintage paper doll.

Page Ten (almost at the end)...

Anddddd...the very last page.  Whew! *wiping sweat off brow*

That's it for me today!  Heading off to work now - but I hope I have inspired you to take your ordinary junk and turn it into JUNQUE!

Peace, love, and art my friends -

Wednesday, January 16, 2013

Something Old, Something New Mini-Album (Practical Scrappers)

Today at PRACTICAL SCRAPPERS, we are doing a feature on mini-albums (happy, happy, joy, joy)! For those of you who maybe don't know, mini-albums are one of my very mostest favoritest things to make e.v.e.r. And I will make a mini-album out of just about anything. So, it's no surprise that when I was cleaning out my craft closet, FULLY intending to purge and donate some items that I was never going to use, I held in my grubby lil paws old journaling cards made by Little Yellow Bicycle. I am almost postive I got them back in 2009 when I first started scrapping because - try not to laugh too hard - I had convinced myself that my husband, who enjoyed doing many of the same things that I did - was going to take up scrapbooking with me. In my little fantasy, he was going to love scrapbooking as much as I did and we were going to spend hours and hours scrapbooking together. Well, his name is NOT Tim Holtz. And, needless to say, he didn't and we didn't. And the journaling cards, which looked nice and manly to me, never got used. Until, that is, I was getting ready to put them in the give-away pile. Then, suddenly, the proverbial light bulb went off over my head. Thankfully, the idea I had was better than the one about the hubster wanting to do arts and crafts with me! Suddenly, the journaling cards became the base to a perfect-sized mini-album, and with a little cutting and re-arranging things, I managed to get a few embellishments off it. I paired my old journaling cards with papers from MY MIND'S EYE's Sweetest Thing Collection and lots and lots of random,different embellishments - everything from strips found at the bottom of my papers to pretty paper ephemera by PINK PAISLEE. And with that being said, it's time for me to stop talking. They say a picture says a thousand words, so I am going to let mine speak for themselves.

Check out the little pocket and tag I made! Sweet, huh?

Another little pocket and tag on the left and a smaller journaling "insert" on the right.

Another journaling page. This one is not covered with different papers at all - it's the original card that I just dressed-up a little.

Last page:

That's it for me today, but please check out PRACTICAL SCRAPPERS for more mini-album inspiration!

Thursday, June 14, 2012

A New Handmade Mini-Album!

Friday is almost here, and with it (hopefully) free time to get crafty!  A couple of weeks ago, I made this easy, simple little mini that I want to share with you.  It's up on the PRACTICAL SCRAPPERS BLOG today, complete with a VIDEO TUTORIAL that I would love for you to check out.

You know I love capturing everyday moments, and this mini was just the right size for a series of photos, and accompanying journaling, from a recent walk with my youngest.  It's only three pages, but each page holds three tags - so there is lots and lots of room for pictures, decorations, journaling - whatever you want to create!

My mini was simply made from folding and stiching 6x6 papers together to create pockets.  My cover is an old piece of cardboard that I painted, misted and decorated after cutting it down to size.  Here's how it turned out:


These are the tags pulled out of the front pocket and the side pocket. 

The next page...


The next page, where my child added her own journaling...


There's so much space for journaling and pictures with these wonderful tags!


And the last page...


That's it for today...but be sure to stay tuned.  I will be back this weekend with a Lori Whitlock project and more...

Now go forth and be crafty!

Monday, March 12, 2012

A Lori Whitlock Mini-Album


I seriously have this crazy obsession with mini-albums. I cannot get enough of them! So, when I saw Lori Whitlock's Build an Album Set in her STORE, I started doing a happy dance. I LOVE all the different shapes that are included; in fact, I loved them so much that my mini-album ended up being HUGE. Why? Because I just had to had to had to use each of the different shapes. That's right, I HAD to. Combine that "need" with all of the adorable professional photos my youngest daughter recently had taken, and I had twelve pages done before common sense took over and forced me to stop!

Lori also has these wonderful 3x4 NUMBER CARDS, which inspired the theme of my mini-album. I decided to list twelve attributes, or things, about my baby girl that I love. I used Echo Park's Graceful papers from the This and That Collection (designed by Lori, of course), which is full of wonderful phrases (among other things). I also used some fantastic PHRASES from Lori's Store, including the "For the Record" phrase on my album's cover.

Here's how the pages turned out:


I love how the different shaped pages look mixed together in my album, don't you?


A little close-up - I had a lot of fun cutting out the flash cards included with the EP Graceful papers and using them in my album:


Journaling cards in pockets are a must for me!


Another page with a different shape:


And more pockets with cards and pictures tucked inside...


Last page...the library card folder is also created by Lori. It's just right for a little love note I included to my daughter.


Have you made a mini-album? If not, I highly encourage you to give it a try. They are perfect gifts - either for someone you love or just for yourself!